The Dry Dropper Rig: 3 Simple Steps, Fly Fishing For Beginners
Written By: Trent Jones
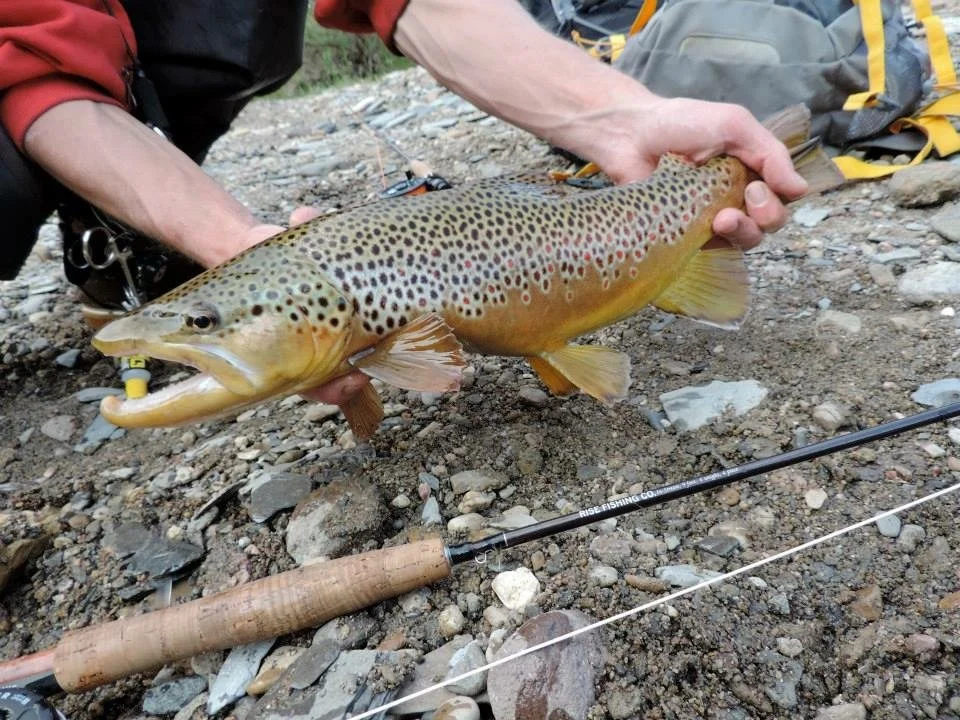
Are you ready to elevate your fly game? Today, I’m thrilled to share my absolute favorite rig for catching trout in the middle of summer: the dry dropper rig. This setup is a game-changer, allowing you to watch fish strike your dry on the surface while also targeting fish in the lower water columns with a nymph. This is my daily setup almost all summer long It’s a complete blast to fish and incredibly effective. Let’s dive into how you can set up this rig in three easy steps, plus an optional fourth step for those extra challenging days.
1. Attach the Dry Fly
First things first—let’s assume you’ve already got your leader connected to your fly line. If you need assistance with that, check out my detailed tutorial linked in the video description.
With your leader attached, it’s time to focus on attaching the dry fly. Use a clinch knot to secure your dry fly to the leader. If you’re unfamiliar with this knot, don’t worry! There’s a step-by-step tutorial in the description to guide you through the process. After securing the dry fly, you might want to add some floatant. I usually wait until I’ve finished the rest of the rig to avoid getting floatant on the rest of the gear.
2. Prepare and Attach the Tippet
Next, cut a piece of tippet. The length of the tippet depends on the depth of the water you’re fishing. For deeper water, use a longer tippet—18 inches is a good starting point. Attach this tippet to the bend of the dry fly’s hook using a clinch knot. Again, if you need a refresher on the clinch knot, check out the linked tutorial.
3. Attach the Nymph
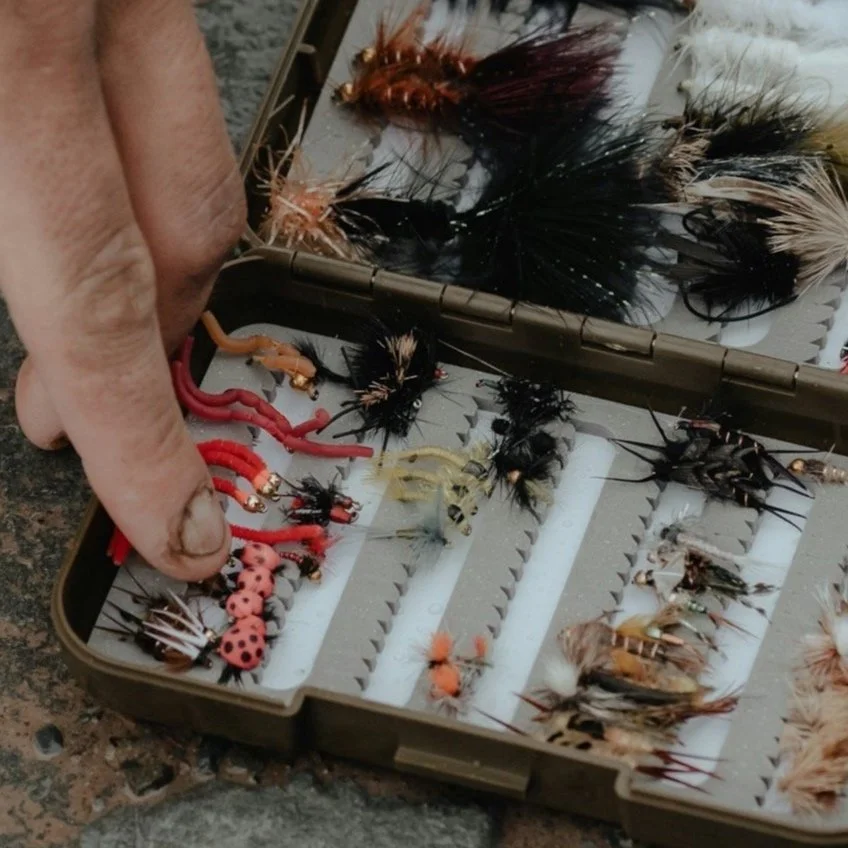
Finally, choose a nymph from your box and attach it to the other end of the tippet, also using a clinch knot. I prefer using a bead head nymph because it sinks quickly to reach the strike zone. However, be cautious—using a nymph that is too heavy might pull your dry fly under the surface, causing it to sink and affecting the drift of the rig. Remember, your dry fly serves as a strike indicator; if a fish hits the nymph, it will pull the dry fly down.
Optional Step 4: Add Another Nymph Below
For those extra challenging days or when you want to increase your chances of catching more fish, you can add another nymph below your first one. This step is optional but can be highly effective. To do this, cut an additional piece of tippet and tie it to the hook bend of your first nymph using a blood knot. Attach your second nymph to the other end of this new piece of tippet.
With this dry dropper rig setup, plus the optional addition of another nymph, you’ll be ready to maximize your time on the water and increase your chances of catching fish. Enjoy the thrill of watching surface strikes and the satisfaction of pulling in fish from below. Tight lines and happy fishing!


