

Step-by-Step Guide to Setting Up Your Rod and Reel
written by : Trent Jones
So, you’ve just ordered your first fly rod and reel, and you’re patiently waiting for them to show up, the anticipation builds, and when they finally arrive, you tear open the box with excitement. Now what? If you’re like most beginners, you might be a little unsure of the next steps. Lucky for you, we’re going to walk you through how to set up your rod and reel, so you can hit the water with confidence.
Step 1: Unzip the Case
First things first—let’s get that rod out of the case. Unzip it and pull out each section of the rod. It's like unwrapping a present—except this gift will help you catch fish, so I guess it is a present, a really good present that keeps giving, ha!

Step 2: Attach the Sections
Next up, let's attach all the sections. Start with the tip section, and work your way down to the butt section. Starting with the tip section means you won't have to put the rod down on the ground, avoiding any unfortunate accidents (like your buddy stepping on it—ouch!).
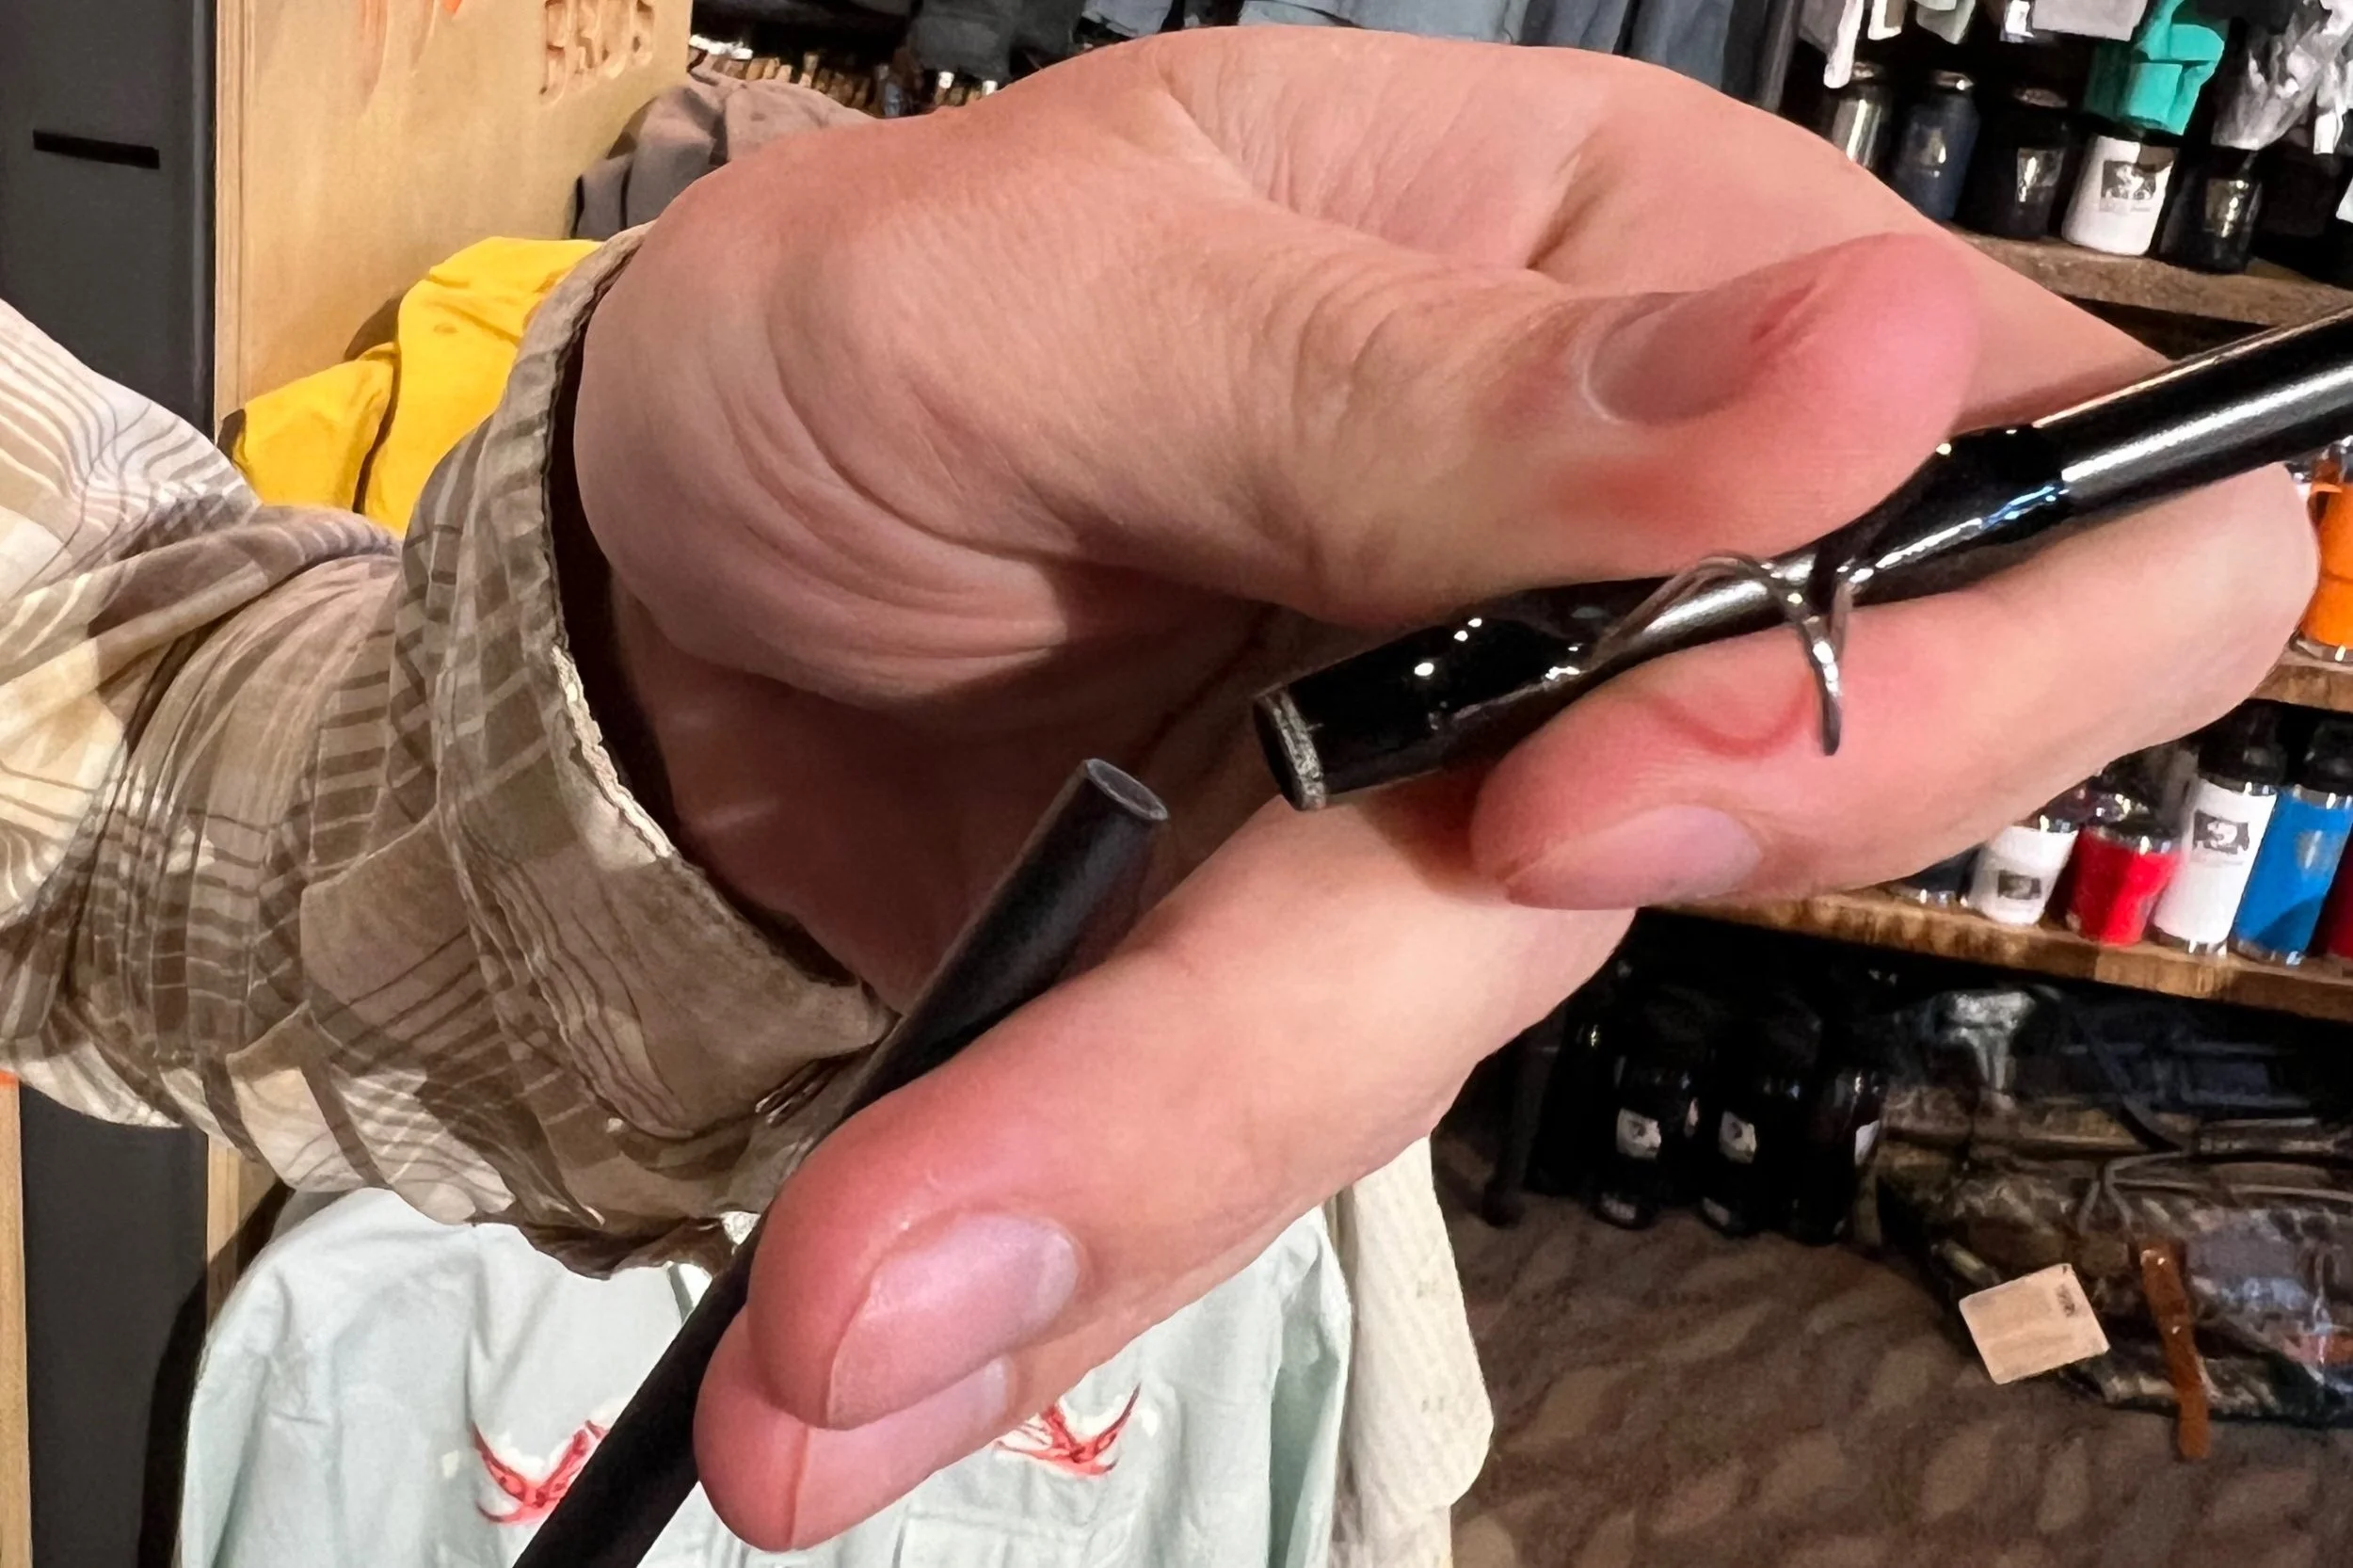
If your rod has alignment dots, just match them up, and the guides will line up too. If not, no problem. Just attach each section lightly, make sure the guides are lined up, and then tighten everything into place.
Step 3: Attach the Reel
Now that your rod is all put together, it’s time to attach the reel. Slide the front end of the reel into the backside of the cork grip, then slide the little metal piece up and over the back of the reel. Screw the locking ring forward until it’s snug, and your reel is secure. Easy peasy!

Step 4: Choose Left or Right Hand Retrieve
When you're getting your reel set up, you'll need to know whether it's left-hand retrieve or right-hand retrieve. Left-hand retrieve means you cast with your right hand and reel in with your left. For right-hand retrieve, you cast with your left and reel in with your right. Simple as that!
Step 5: String the Line
With your reel attached, it's time to string the line through your rod guides. Find a nice, soft spot on the ground to put down your rod and reel—no gravel or rocks here, please. Instead of just grabbing the end loop of the fly line, fold it over on top of itself and string it through each guide. This way, if you accidentally let go, the line won’t slide all the way back down through the rod. It’s a little trick that saves you from using up those daily curse words

Step 6: Attach the Leader
Finally, let’s attach the leader to your fly line. There are a bunch of ways to do this, but for now, we’ll stick with the easiest one—the loop-to-loop connection, or handshake knot.
Start by getting your leader out of the package. Hold the loop open with three fingers and unwind it, starting with the thickest end first. If you start with the small end, you'll end up with a tangled mess. After a few wraps, the leader should unravel nicely. To smooth out the coils, grab the thick end of the leader with one hand and the middle with the other, then give it a good stretch.
Now, take your fly line and slide it through the leader’s perfection loop. Thread the thin end of the leader through the fly line loop and pull the rest of the leader through. Pull tight, and you’re golden.

Step 7: Ready to Cast?
With your rod and reel all set up, you’re probably itching to get out there and start casting. But before you do, make sure you’ve got the fundamentals down. Head over to Fly Life Productions to check out our guide on the basics of fly casting—trust me, it’s worth the read.
Setting up your gear is just the beginning. As you get more comfortable, you’ll find there’s a whole world of techniques and tips to explore. Ready to hit the water? Tight lines!
