Step by Step Guide: Fly Tying for Beginners The Woolly Bugger
Featuring: hooked4lifeca
In this guide, we'll walk you through the step-by-step process of creating one of the most versatile and effective fly patterns in angling – the Woolly Bugger.
Whether you're new to fly tying and never done this before or just looking to step up your skills, this guide offers clear instructions and practical tips to help you master this iconic fly.
Materials Needed:
Hook: Size 4-10 streamer hook.
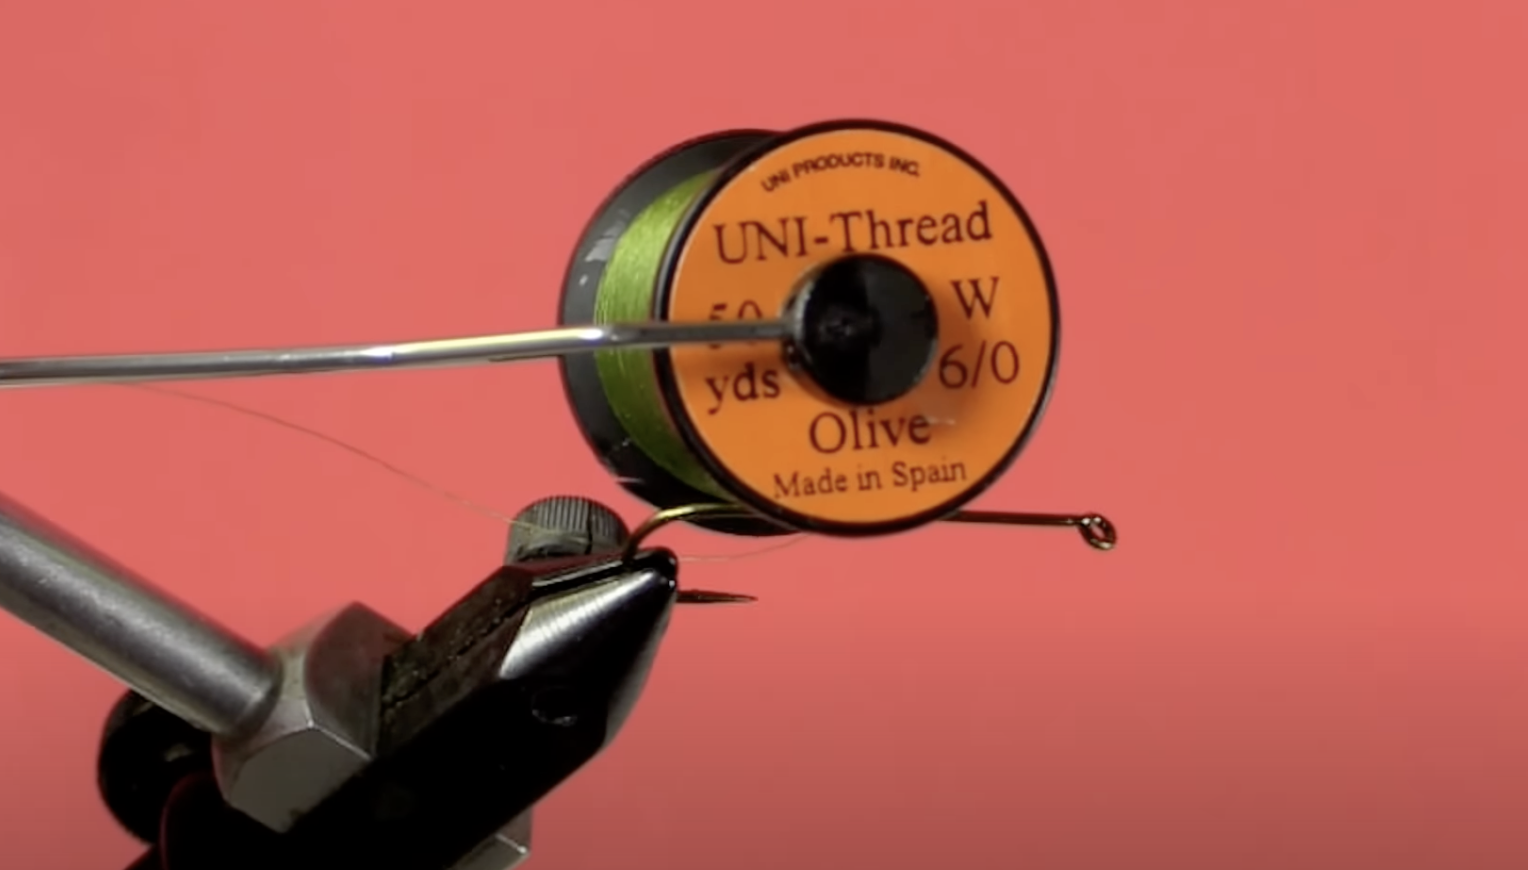
Thread: Black 6/0 or 8/0 thread.
Tail: Marabou feathers (color of choice).
Body: Chenille (color of choice).
Hackle: Grizzly or saddle hackle.
Ribbing: Copper wire (optional)
Step 1: Secure the Hook
Start by fixing the hook securely in your vise. Begin wrapping your thread onto the hook shank, starting from behind the hook eye and moving towards the bend.
Step 2: Prepare the Tail
Select a few marabou feathers (2-4) in the desired color for the tail. Measure them to about the length of the hook shank and tie them in at the bend of the hook, creating a tail that extends backward.
Step 3: Tie in the Hackle
Take a hackle feather and prepare it by stripping away the fuzzy fibers from the base, leaving only the bare stem and the long fibers. Tie in the tip of the hackle feather just in front of the tail, with the shiny side facing forward.
Step 4: Add the Chenille Body
Secure the chenille at the base of the tail and wrap your thread forward, stopping just behind the hook eye. Now, wrap the chenille forward in tight, touching turns, creating a smooth body as you go. Tie off the chenille and trim any excess.
Step 5: Palmer the Hackle
With the hackle stem secured, begin wrapping it forward around the chenille body. Each wrap should be evenly spaced, and the fibers of the hackle should point backward as you wrap. Palmer the hackle until you reach just behind the hook eye, then tie it off and trim the excess.
Step 6: Ribbing (Optional)
If desired, you can add a ribbing effect by wrapping a thin copper wire forward through the hackle fibers. This adds durability to the fly and can create an attractive segmented appearance.
Step 7: Whip Finish and Trim
Finish the fly by making a whip finish with your tying thread behind the hook eye. Trim the excess thread and ensure all materials are securely fastened. Optionally, you can add a drop of head cement or UV resin to secure the thread wraps and add durability to the fly.
If you need help with whip finishing check out this Articale
https://www.flylifeproductions.com/all-post/whip-finish-fly-tying-for-beginners
Step 8: Final Touches
After completing the fly, you can customize it further by trimming the tail to your desired length or adding weight to the fly by wrapping lead wire or adding bead eyes. Experiment with different color combinations and variations to suit the fishing conditions and preferences.
And there you have it – a completed Woolly Bugger fly pattern ready to entice hungry trout, bass, or other freshwater species! Happy tying and tight lines!
Below is an awesome video example from hooked4lifeca on how to tie the wooly bugger go watch it now
From: hooked4lifeca
The Woolly Bugger is a great pattern as a first fly tying project. It's a simple pattern that catches loads of fish of all sorts of species and it doesn't matter if it's perfect or not. The fish still eat it.
So if you have never tied a fly before and are looking for an easy first project that will catch fish, the Woolly Bugger is it.


